Couchbase® is a distributed document database (JSON). Couchbase’s distributed architecture is designed for no single point of failure. Its cloud-native architecture combined with Kubernetes (K8s) delivers a self-managed autonomous database. Developers write JSON documents into this database and apply multiple data processing capabilities on it. In addition to the full SQL programmability, Couchbase offers Caching, Key- Value store, Search (information retrieval), Analytics (Ad-hoc querying) and Event driven (reactive) programming on a single copy of data.
Now that our cluster is ready and we have downloaded the kubeconfig file, let’s verify that our cluster is up and running. To verify that you have a running master and worker node, list the nodes by executing:
If everything works, you should something similar to this:
Now we are ready to deploy Couchbase.
Installing the Couchbase® Autonomous Operator
We will be using Helm to install an operator for Couchbase. The Operator manages the lifecycle of your Couchbase deployment(s).
Download the Operator packageand unpack it on the same computer where you normally run kubectl.
Install the CRDs from the package:
The operator is composed of two components; a per-cluster dynamic admission controller (DAC) and a per-namespace Operator.To configure run the following commands:
Verify that the deployments were created:
To verify that the DAC is working properly, perform a dry-run creation of a bucket:
If it is functioning correctly, the output will look like this:
Deploying a Couchbase Cluster
The package that you downloaded in the previous section includes a file banned couchbase-cluster.yaml. This file defines the properties of the cluster, You can edit the file. For example, you can edit the following properties:
The name of the cluster
The image of the server
The administrator username and password encoded in base64
The number of Couchbase servers in the cluster
The name of a bucket that will be created on the cluster
Create the cluster by applying the file
You can view the cluster using the CRD:
You can see the servers by listing the pods (3 in this example):
Access the Couchbase User Interface
The couchbase servers are not accessible from the internet. You could access one of the servers by using port forwarding. First you need to find the server pod names by listing the pods:
Select one of the servers and port forward to port 8091:
Connect to http://localhost:8091 to access the UI. Use the username and password from the coucgbase-cluster.yaml.
To access your cluster from the internet you will need an Ingress. The ingress will have an external IP. It will use the headless services (ClusterIP=None) ‘cb-example’ so that it will be able to reach any of the server pods.
In this example we will use NGINX for the Ingress. We use Helm to install the NGINX Ingress Controller:
Verify that the controller was created in the ingress-nginx namespace:
Next, apply a file, like the one provided here:
Apply the file and describe the resulting ingress to find the external IP:
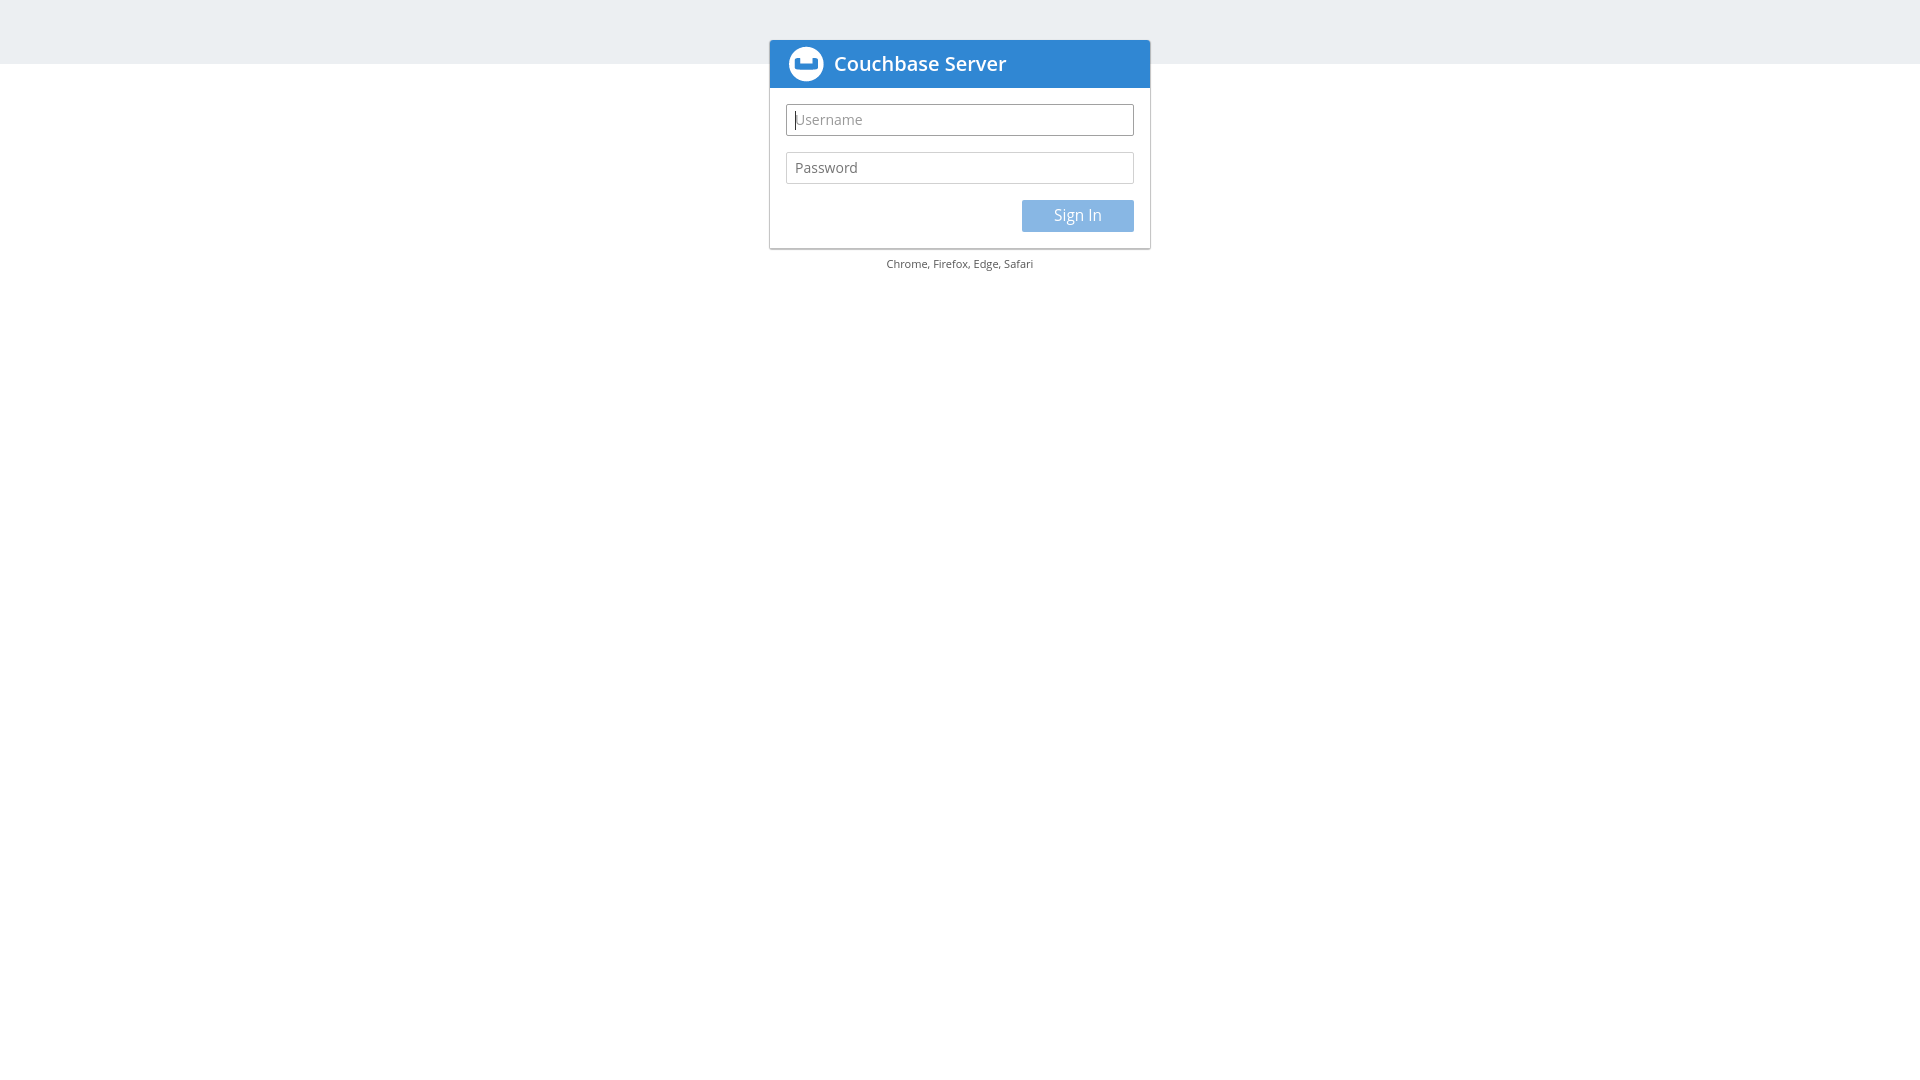
Use your browser to access the external IP. The login page will appear:
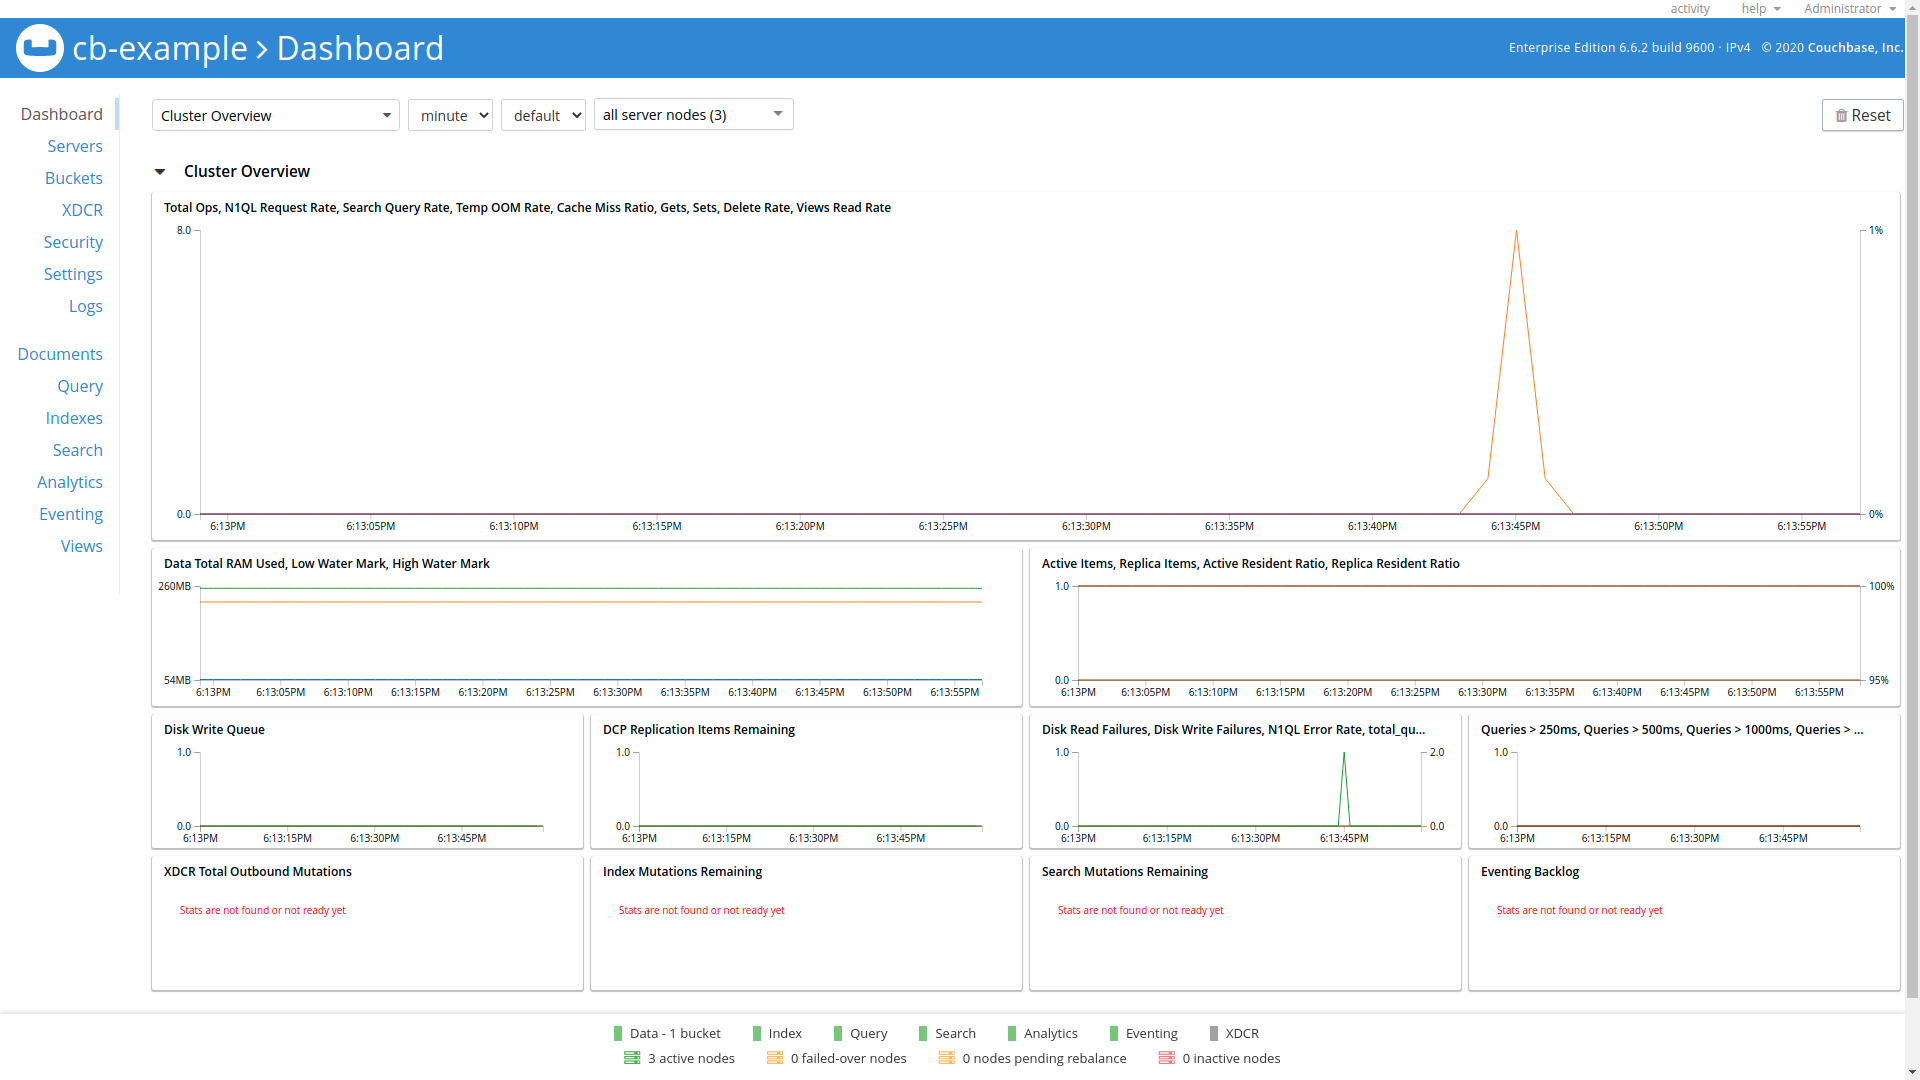
Use the username and password from the couchbase-cluster.yaml file to login. You will now be able to see you Couchbase dashboard:


 Cloud U.Enroll in higher education at Ridge University